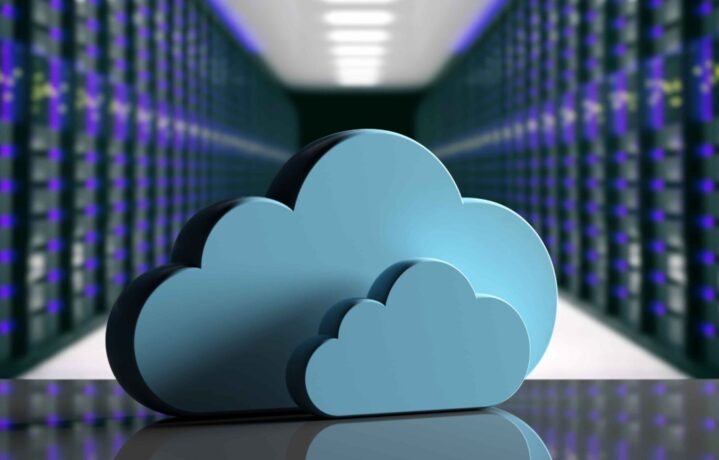
In today’s fast-paced, security-driven business world, the ability to monitor your premises remotely is no longer a luxury, it’s a necessity. Integrating your security cameras with cloud storage for security cameras offers businesses a smarter, more reliable way to stay connected to operations anytime, from anywhere.
If you’re a Windows user looking to streamline your surveillance system for efficient remote monitoring, this guide will walk you through every critical step.
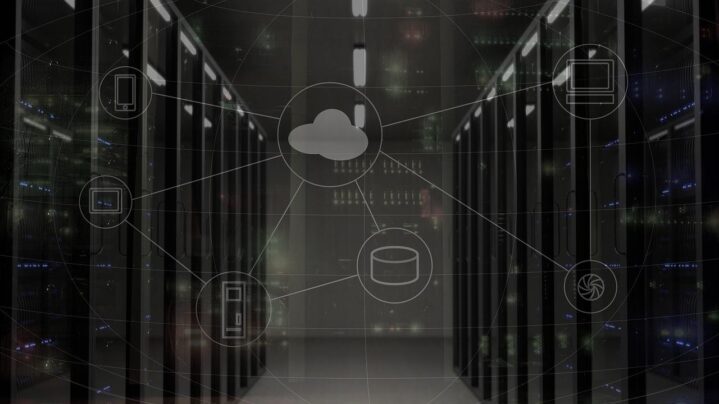
Why Cloud Storage for Security Cameras?
Traditional security systems often rely on local storage through DVRs (Digital Video Recorders) or NVRs (Network Video Recorders). While these systems can be effective, they come with significant vulnerabilities: theft, damage, and hardware failures can wipe out crucial footage.
Cloud storage for security cameras resolves these issues by automatically saving video footage to secure, offsite servers. This not only safeguards your data but also brings multiple advantages:
- Remote access to live feeds and recorded videos from any device.
- Scalable storage options without hardware upgrades.
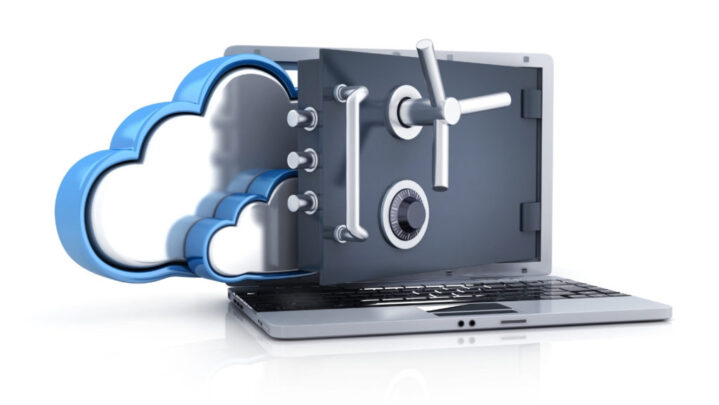
- Enhanced security through encryption and regular backups.
- Reduced maintenance costs, eliminating the need for physical storage management.
Windows-based tools and applications make setting up and managing cloud-connected security cameras even more straightforward, adding convenience to reliability.
Steps to Integrate Security Cameras with Cloud Storage for Remote Business Monitoring
1. Choose the Right Security Cameras
Start by selecting cameras that support cloud storage for security cameras. Not all models are designed for cloud integration, so it’s important to look for devices specifically labeled as:
- IP Cameras
- Cloud-Enabled Cameras
- Smart Security Cameras
Top brands like Arlo, Reolink, Hikvision, and Google Nest offer Windows-compatible cloud systems that include desktop apps, mobile applications, and web portal access. Choosing the right hardware from the beginning ensures seamless setup and reliable performance.
2. Select a Reliable Cloud Storage Provider
Your choice of cloud provider is critical to system reliability and security. When evaluating options, consider:
- Storage plans ─ Check the differences between free and premium packages.
- Retention periods ─ Understand how long video footage will be stored before being automatically deleted.
- Security measures ─ Look for providers offering end-to-end encryption, multi-factor authentication, and compliance with security standards.
- Windows integration ─ Ensure the service provides a stable desktop app or web portal optimized for Windows 10/11 systems.
Popular cloud solutions include:
- Microsoft Azure Video Storage
- Google Cloud Video Intelligence
- AWS Cloud Storage for Video Surveillance
- Specialized providers like Coram and Eagle Eye Networks, designed exclusively for cloud storage for security cameras.
Choosing a reliable provider helps you minimize downtime and ensures that footage remains accessible whenever needed.
3. Consider Integrated Business Security Ecosystems
When building a cloud-based surveillance setup, it often helps to think beyond individual cameras and storage plans. Many companies benefit from adopting fully integrated security ecosystems that connect cameras, storage, access control, alarms, and monitoring dashboards into one cohesive network.
Integrated business security and surveillance systems help unify these elements, making remote management simpler, improving response time, and ensuring that every security component works together rather than as separate tools.
This creates a more streamlined, reliable, and future-ready business security infrastructure.
4. Connect Your Cameras to the Internet
To operate effectively, your cameras must maintain a stable, high-speed internet connection. A wired Ethernet connection is preferable for maximum reliability, but high-quality Wi-Fi setups can suffice for smaller businesses.
Here’s your checklist:
- Update the camera firmware to the latest version.
- Secure your network using strong, unique passwords and robust firewall protections.
- Enable VPN connections if remote access outside the office is frequent.
A secure network environment is crucial for protecting both live and stored data from potential breaches.
5. Install the Required Software on Your Windows Device
Most providers of cloud storage for security cameras offer dedicated desktop applications or secure browser portals for Windows systems. After choosing your provider:
- Install the necessary apps or tools.
- Configure camera settings including angles, motion sensitivity, and resolution.
- Monitor live feeds and archived footage easily through your Windows device.
- Set up automatic alerts and notifications for immediate response to incidents.
Tip: If your system supports it, use Windows Task Scheduler to automate certain tasks like footage backup or alert checks for added efficiency.
6. Configure Cloud Storage Settings
Fine-tuning your cloud settings ensures the system works the way you want. Key configuration steps include:
- Define upload frequency ─ Choose whether footage uploads in real-time, hourly, or daily batches.
- Adjust video quality settings ─ Balance video resolution and frame rates to optimize cloud storage usage.
- Set up user roles ─ Assign different access permissions based on team roles (e.g., full access for managers, view-only for staff).
- Activate motion detection zones ─ This feature helps minimize unnecessary recordings, saving both storage space and review time.
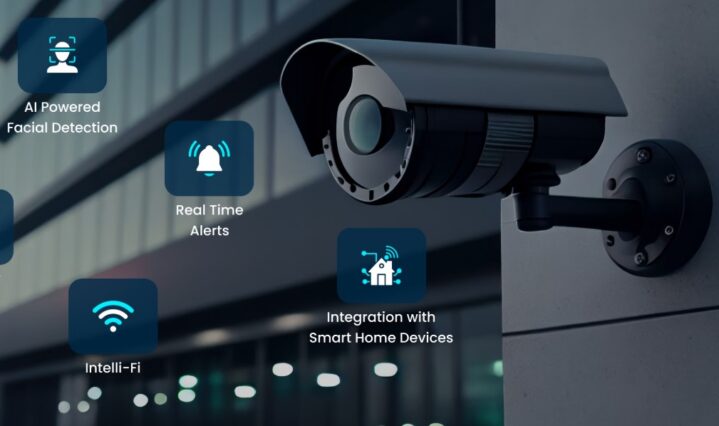
Advanced AI-driven analytics are available with many cloud storage for security cameras platforms, helping you differentiate between actual threats and harmless motion like moving trees.
7. Set Up Alerts and Notifications
Real-time alerts are one of the most powerful features of cloud surveillance. Customize your notification preferences to:
- Receive instant alerts via email, SMS, or mobile push notifications whenever suspicious activity is detected.
- Schedule alerts specifically for non-business hours to focus on after-hours protection.
- Integrate desktop notifications into your Windows operating system for immediate visual updates.
Well-configured alerts ensure you are always aware of what’s happening at your business, even if you are thousands of miles away.
8. Test Your Remote Access
Testing ensures everything works smoothly before you fully rely on the system. After setup:
- Log in remotely from your Windows laptop or mobile app.
- Test live view, playback, and downloading options.
- Verify that each camera is correctly mapped to its corresponding cloud storage area.
- Check footage uploads to catch any upload errors early.
Regular testing reduces the chance of missing important incidents due to unnoticed technical glitches.
Best Practices for Cloud-Based Business Surveillance
To maximize your cloud surveillance system’s effectiveness:
- Encrypt your network and cloud data with strong protocols like AES-256.
- Regularly update firmware and software to protect against security vulnerabilities.
- Manually back up critical footage to an additional secure location as a failsafe.
- Audit user access frequently to ensure only authorized individuals can view, edit, or delete footage.
- Comply with regional laws like GDPR, HIPAA, or CCPA if you’re handling sensitive customer or employee information.
These best practices make sure your security system remains strong and legally compliant.

Conclusion
Integrating your security cameras with cloud storage for security cameras is a forward-thinking investment for any business. It enhances your ability to monitor and protect your premises without being tied down to one location.
By choosing compatible devices, selecting a trusted cloud storage service, configuring the system correctly for Windows, and adopting security best practices, you’ll have a robust surveillance solution that works around the clock.
Stay ahead of potential threats with smart, cloud-based monitoring and transform remote business management from a challenge into a seamless, secure experience.