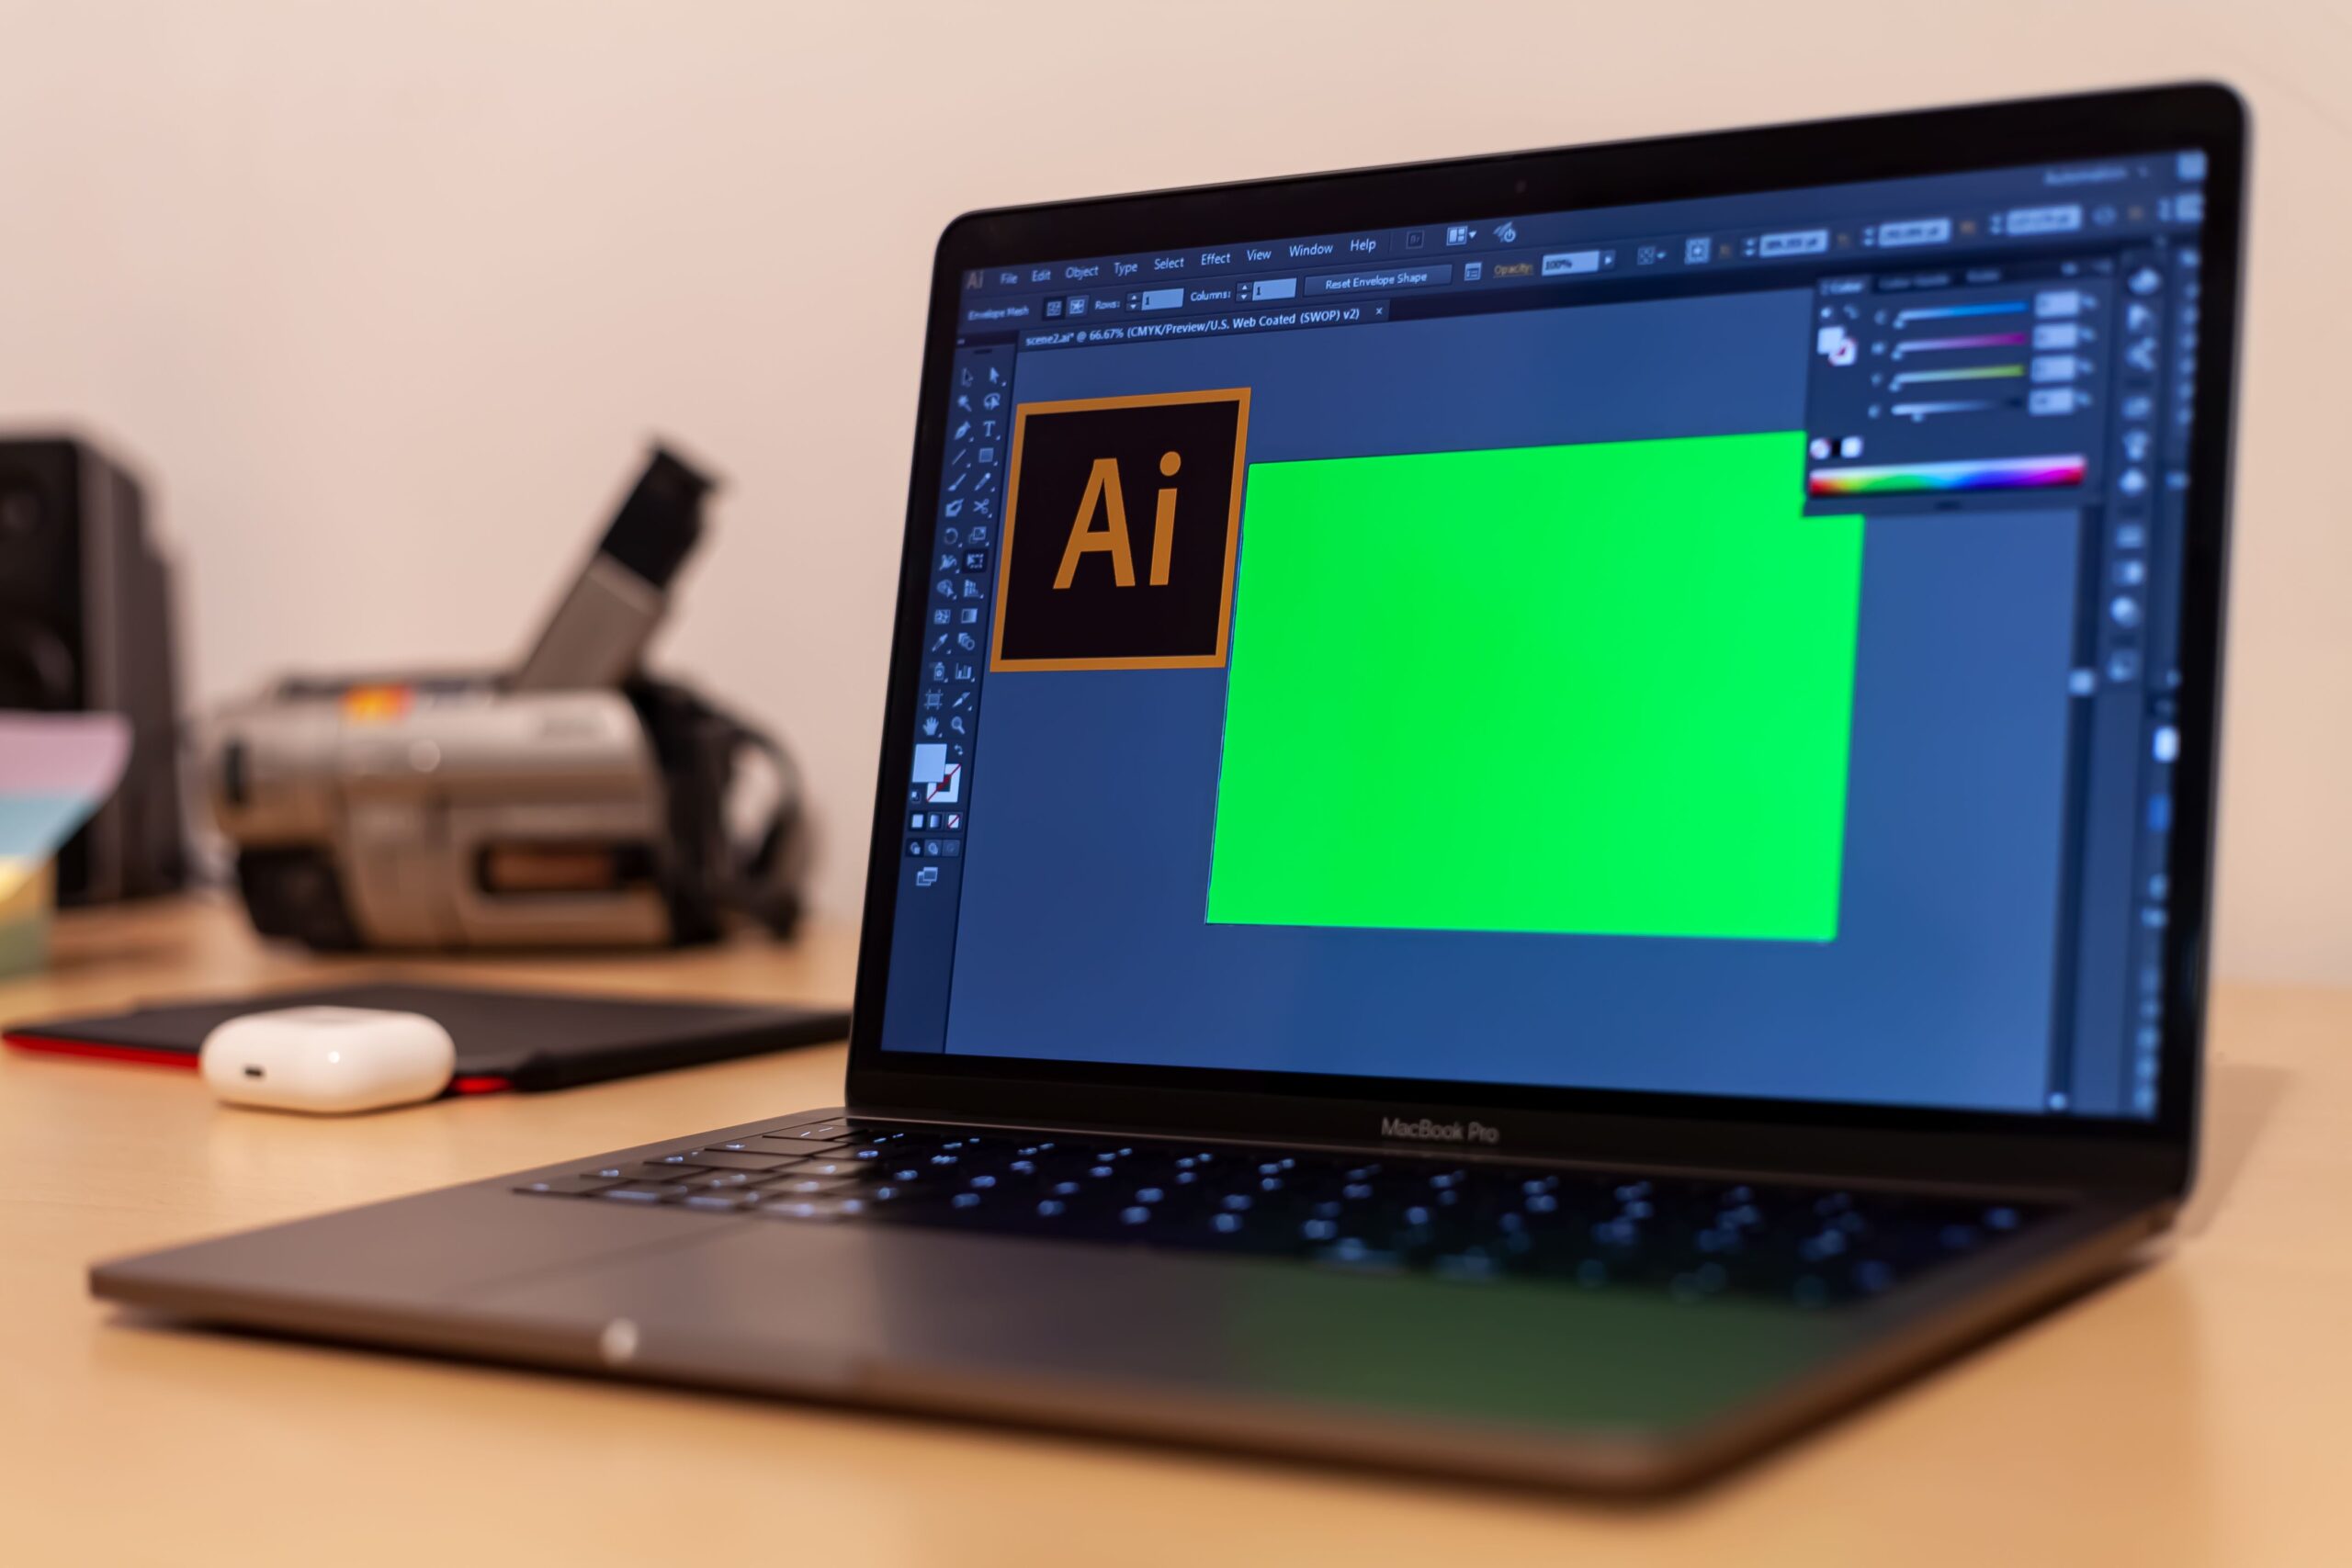
A logo that looks sharp on your computer screen can turn into a blurry mess when enlarged for a sign. A design that prints perfectly on paper might also fail when sent to a laser cutter because the machine cannot recognize the cutting lines.
Vector files solve many of these problems. Instead of storing an image as individual pixels, they describe shapes using mathematical paths. Lines, curves and text can be resized without losing sharpness, making vector graphics useful for signs, stickers, engraving, packaging and custom products.
Windows users can create vector files with free software such as Inkscape or professional applications including Adobe Illustrator and CorelDRAW. The important part is preparing the artwork for the equipment that will use it.
Understand the Difference Between Vector and Raster Files
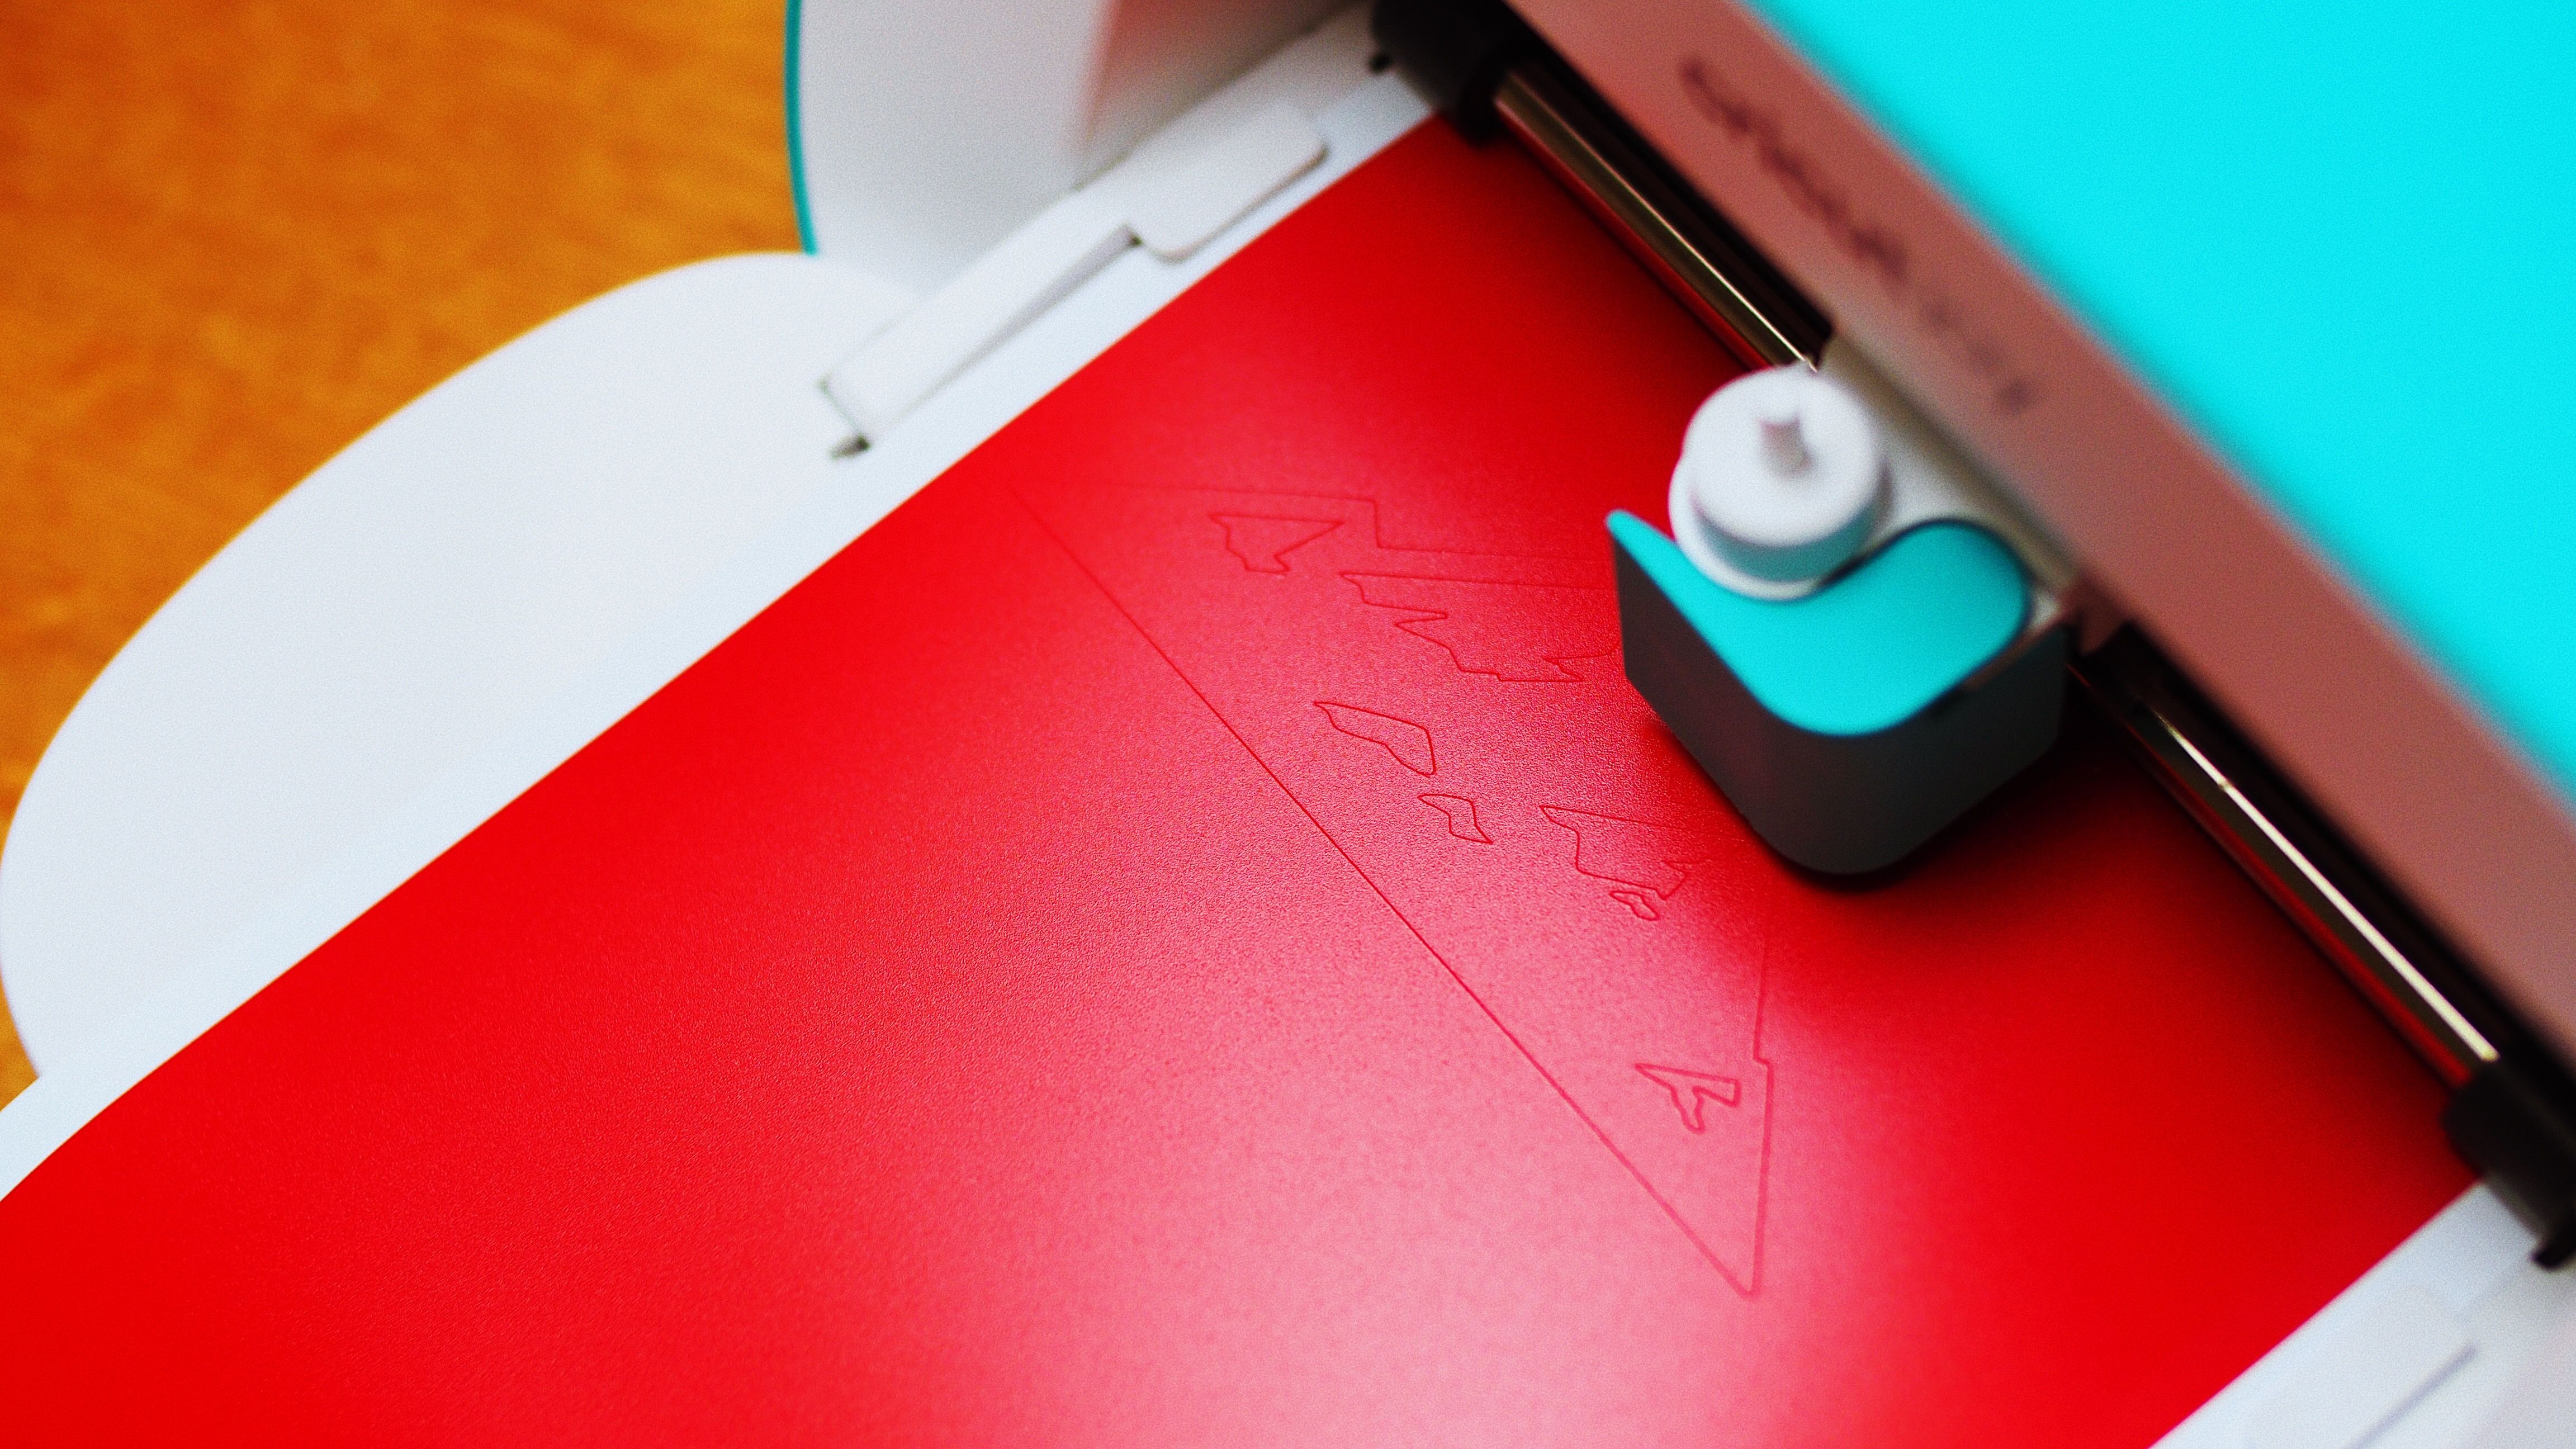
A cutting machine follows the vector paths in a design, so clean outlines matter as much as the artwork’s appearance.
Before creating a design, it helps to know which file type you are working with.
Raster images use pixels. Common examples include JPG, PNG and BMP files. They work well for photographs and detailed images, but enlarging a small raster image can expose individual pixels.
Vector graphics use editable paths. Their edges remain sharp when scaled because the software recalculates the shapes at the new size.
Saving a JPG image as SVG does not automatically convert it into vector artwork. The image must be traced or recreated using actual paths.
Choose Vector Design Software for Windows
Several Windows applications can create vector graphics. The best choice depends on your budget, experience and intended output.
Inkscape
Inkscape is a free, open-source vector editor that supports SVG files. It provides tools for drawing shapes, editing curves, converting text into paths and tracing simple images.
Its features make it suitable for beginners creating cutting templates, logos and decorative designs.
Adobe Illustrator
Illustrator provides extensive drawing tools, typography controls and professional design features. It is widely used for branding, packaging and commercial artwork.
The software requires a paid subscription.
CorelDRAW
CorelDRAW is another established vector graphics application, particularly relevant to sign making, printing and engraving workflows.
Whichever application you select, check the file formats accepted by your cutting machine, engraving software or printing provider before beginning.
How to Create a Vector File in Inkscape on Windows
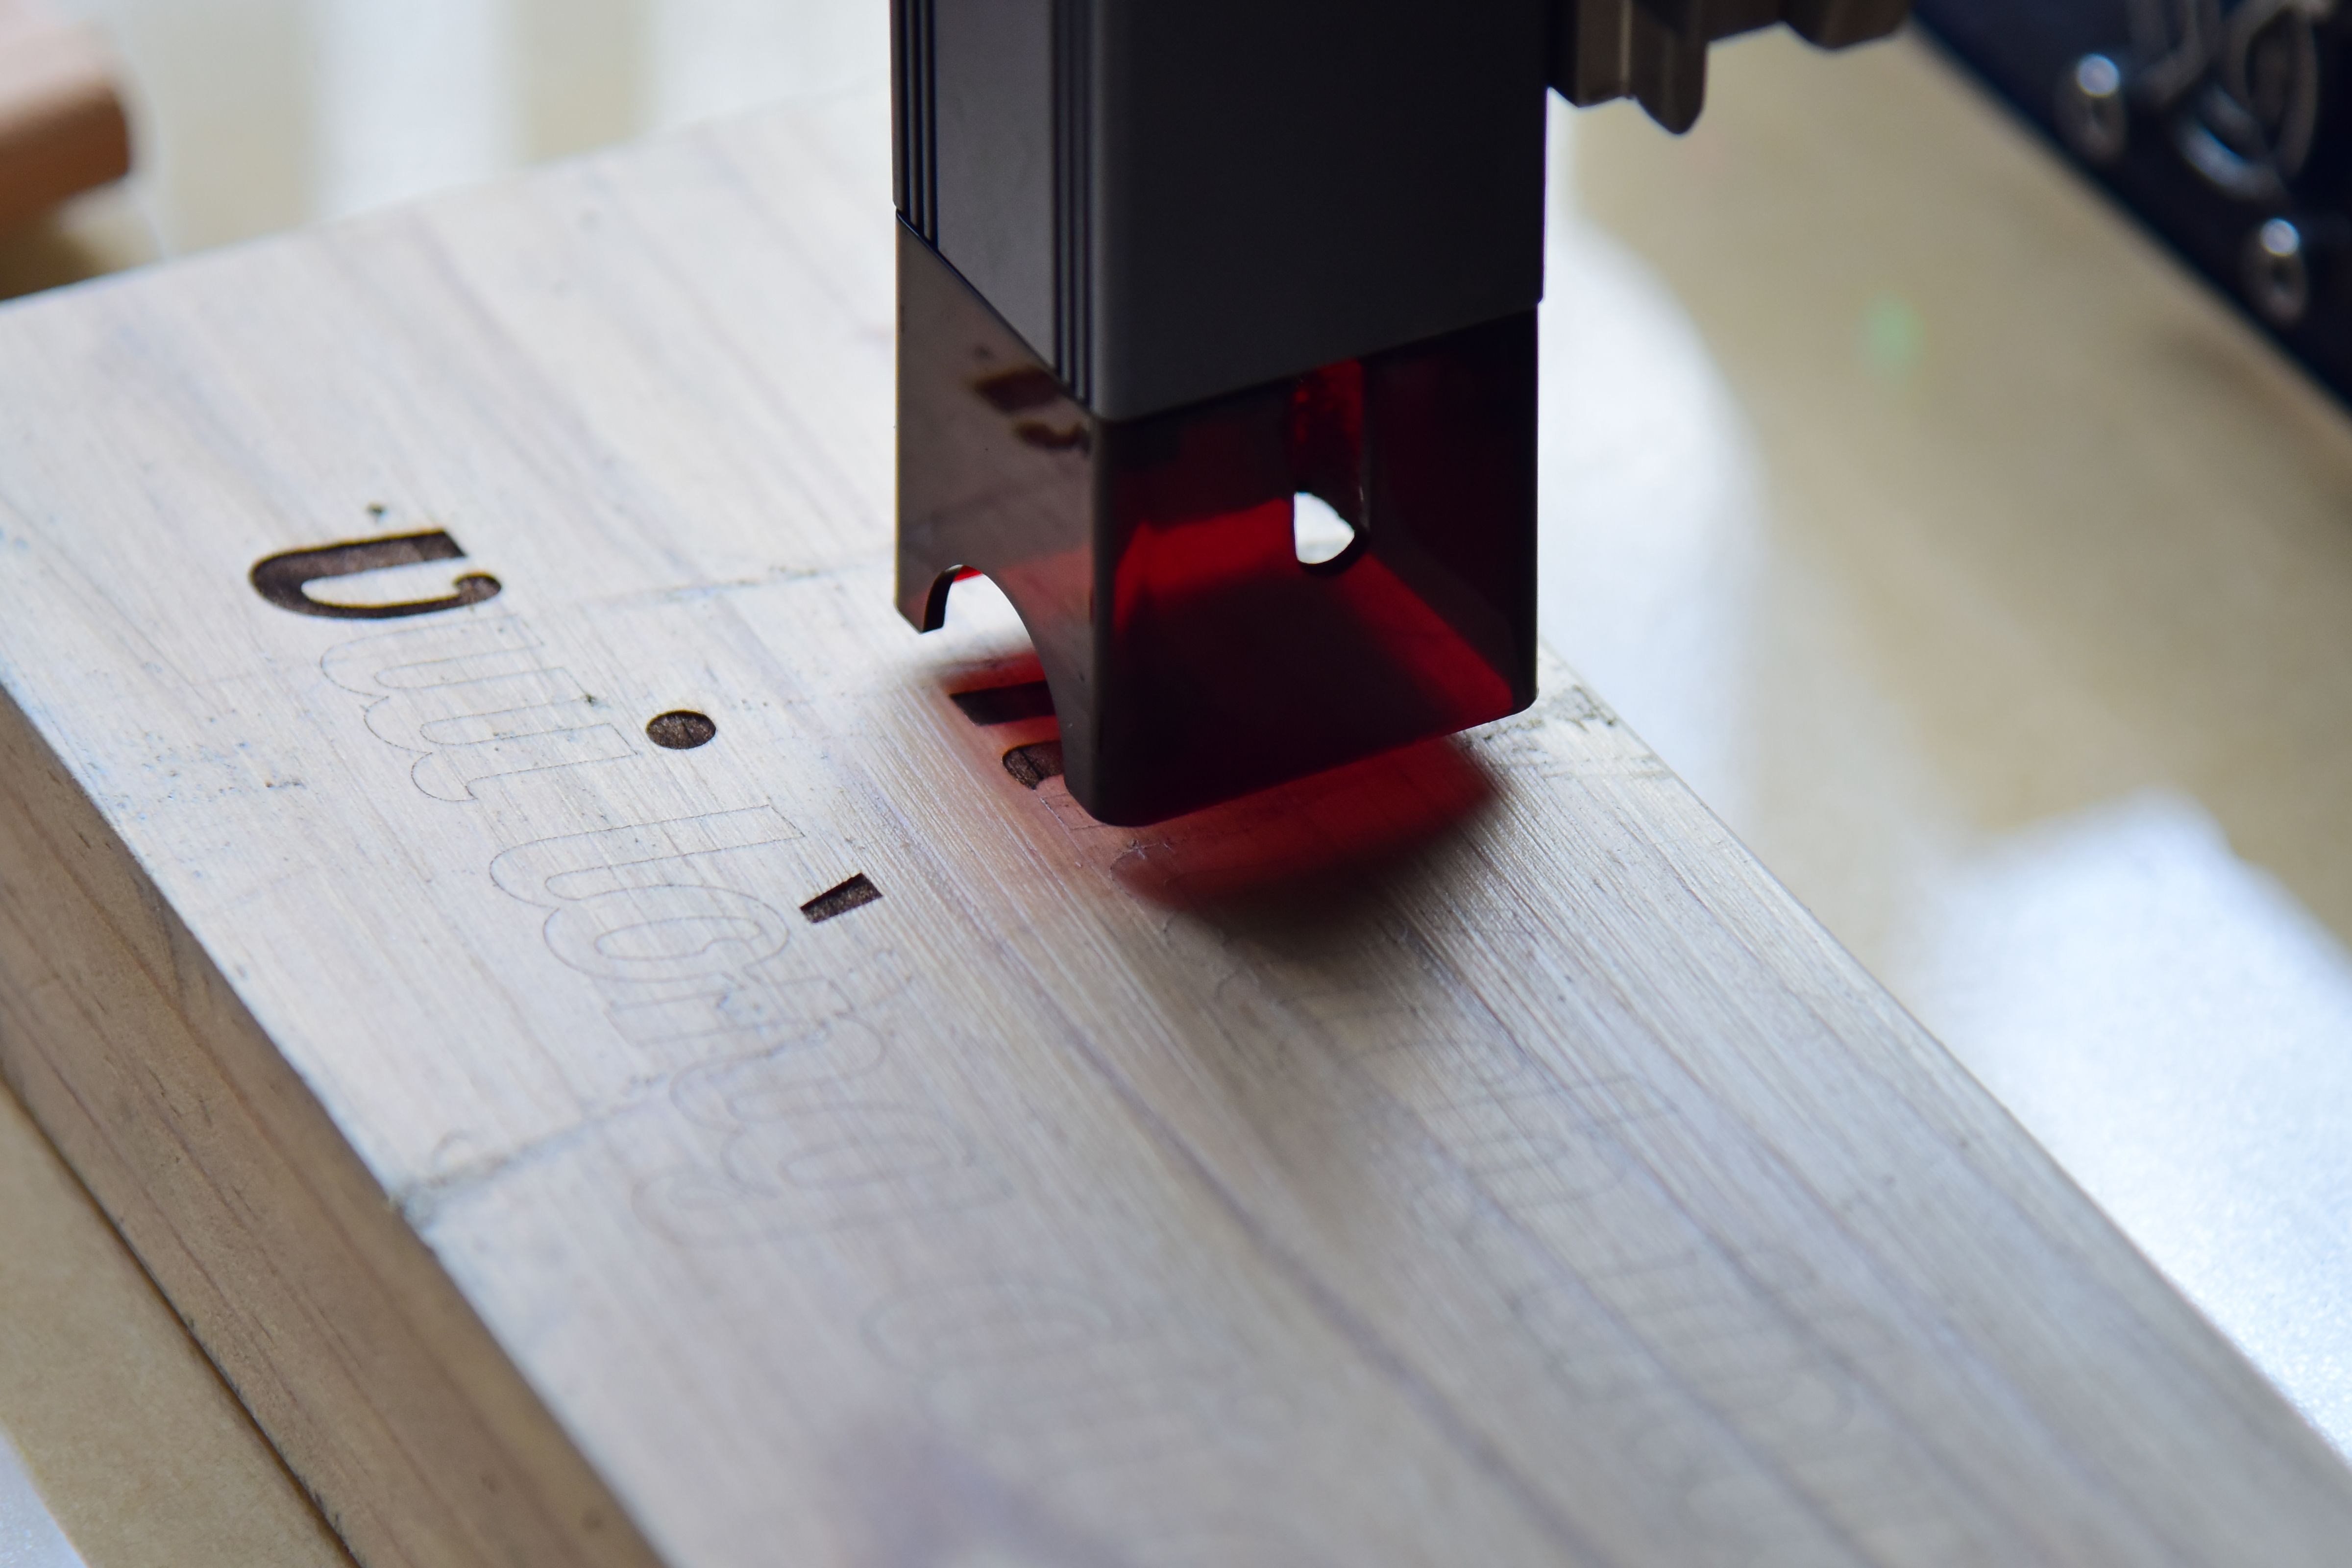
A laser engraving project turns carefully prepared vector paths into precise marks on a material.
For beginners, Inkscape provides a straightforward way to create a vector design without purchasing software.
Step 1. Install Inkscape and Set Up Your Document
Download Inkscape through its official website and install the Windows version.
Open the application and create a new document. Access the document properties using File > Document Properties.
Set the page dimensions and units to match the finished project. For example, a sign measuring 200 by 100 millimeters should be designed at those dimensions rather than scaled later.
Millimeters are particularly useful for cutting and engraving because the design must correspond to physical measurements.
Step 2. Draw Your Design Using Shapes and Paths
Use the rectangle, ellipse and other shape tools to create simple objects. The Bezier tool allows you to draw custom lines and curves.
For more detailed editing, select an object and choose Path > Object to Path. You can then adjust its nodes and curves using the Node tool.
Create a simple example using a circular keychain design. Draw the outside circle, add a smaller hole near the top and place a name or symbol in the center.
Use the alignment tools to position everything accurately. Keep the cutting outline separate from decorative elements that will only be engraved.
Step 3. Convert Text Into Paths
Text can cause problems when a file is opened on another computer that does not have the original font installed.
Select the text and use Path > Object to Path to convert the letters into vector shapes.
Save an editable copy before converting the text. Once converted, the letters can no longer be edited as ordinary text.
Step 4. Save the File as SVG
Open File > Save As and select an SVG format.
SVG preserves vector paths and is supported by many design and laser control applications. However, individual machines may require other formats or additional preparation. LightBurn’s guide to importing artwork describes formats and text preparation for a common laser workflow.
Keep the original editable document and create separate production copies for cutting, engraving or printing.
How to Convert a JPG or PNG Into Vector Artwork
If you already have a logo or drawing saved as a raster image, Inkscape can help convert it into paths.
The official Inkscape tracing documentation explains how to use its Trace Bitmap feature.
- Open Inkscape and select File > Import.
- Choose the JPG or PNG file.
- Select the imported image.
- Open Path > Trace Bitmap.
- Choose a tracing method, such as brightness cutoff for a simple silhouette.
- Review the preview and apply the trace.
- Move the new vector object aside and delete the original raster image if it is no longer needed.
- Inspect and correct the paths before saving.
Tracing works especially well with simple black logos, icons and silhouettes. Photographs and detailed illustrations may produce hundreds of complicated paths that require substantial editing.
Clean up unwanted nodes, disconnected shapes and irregular edges before sending the file to a machine.
Prepare Vector Files for Laser Cutting and Engraving
A laser engraving machine follows prepared vector artwork to cut outlines or engrave details into material.
Laser machines may use the same vector artwork for two different operations. Cutting follows a path through the material, whereas engraving removes or alters material to create a surface design.
For example, a wooden nameplate might have an outer cutting outline and engraved text inside it.
When preparing artwork for a laser engraving machine, the file needs clear geometry and dimensions. The actual engraving method also depends on the laser technology, material and control software.
Before exporting, check the following details.
- Closed paths. Shapes intended for cutting should have connected outlines without unintended gaps.
- Duplicate lines. Remove overlapping paths that could cause the machine to process the same area twice.
- Correct dimensions. Confirm the design fits both the material and the machine working area.
- Separate operations. Organize cutting lines and engraving artwork so they can receive different settings.
- Material allowance. Account for kerf, the width of material removed during cutting, when precise fitting is necessary.
Some laser applications identify operations using imported colors or layers. However, color assignments are not universal, so review the settings inside the machine software.
LightBurn documentation confirms support for importing formats including SVG, DXF, AI and PDF. Compatibility with particular features may vary, so always inspect the imported result.
Before production, test the design on suitable scrap material using the machine manufacturer instructions. Confirm that the material is approved for laser processing and that appropriate extraction and fire safety measures are in place.
Prepare Vector Artwork for Printing
Printing has different requirements. A print shop may need a PDF containing vector artwork, suitable fonts, correct dimensions and a particular color profile.
Set the finished page dimensions before exporting. If the design extends to the edge of the paper, ask the printer about bleed requirements.
For designs containing photographs, vector artwork alone will not improve the image quality. Check the original pixel dimensions and follow appropriate image resizing guidelines for printing.
Professional print providers may request CMYK artwork, specific PDF settings or outlined fonts. Inkscape primarily uses an RGB workflow, so ask the provider about color conversion when exact printed colors matter.
Windows printing also depends on the installed printer driver and its settings. For general background, see the explanation of printer configuration and print drivers.
Common Vector File Mistakes to Avoid
Even experienced designers can encounter problems when transferring files between applications or machines.
- Using an embedded JPG. An SVG may still contain raster artwork instead of editable paths.
- Leaving text as live fonts. Missing fonts can change the appearance of the design.
- Ignoring physical size. Incorrect units or scaling can produce a finished object with the wrong dimensions.
- Overlapping cutting lines. Duplicate paths may cause repeated passes.
- Using overly complicated traces. Excessive nodes can create rough edges and slow machine processing.
- Exporting without checking. Artwork may change when imported into different software.
Always open the exported file in the application that will control the final process. Check the dimensions, paths and intended operations before approving the job.
Create One Design and Prepare It for the Right Machine
Learning vector design on Windows begins with a simple project. Try creating a nameplate, logo or basic sign in Inkscape, then save it as SVG.
Open the file again and inspect the paths. If the design will be cut, confirm the outlines are connected. For engraving, separate the engraved details from the cutting lines. For printing, prepare a PDF that meets the requirements of the print provider.
Once you can create clean paths, control dimensions and export reliable files, you can use the same design skills for considerably more demanding projects.