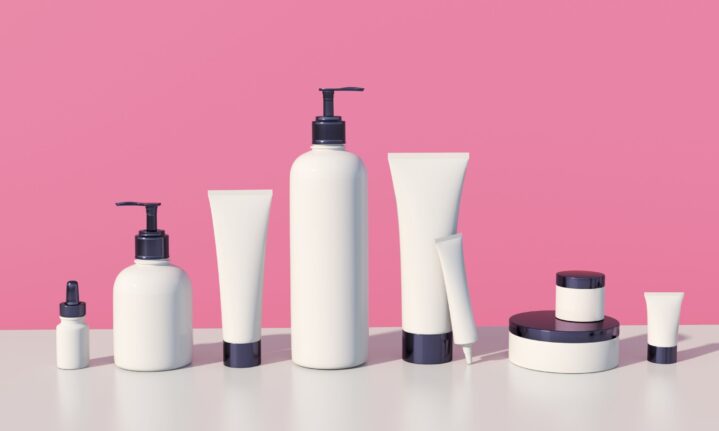
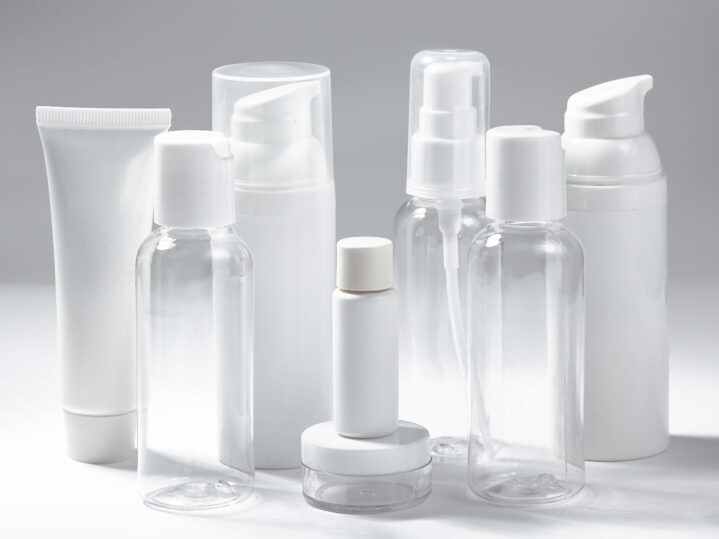
Packaging choices decide how reliably labels apply, how they wear in bathrooms and handbags, and how consistently they print across SKUs. The best results come from matching each container’s geometry to a purpose-built dieline: the right width for circumference, the right height for true straight walls, a corner radius that resists lift, and a wrap tolerance that forgives minor application drift. This guide maps common skincare containers to practical label dimensions and shape decisions, with clear prototyping steps you can run in a single afternoon.
A Practical Method for Sizing Labels
Accurate sizing starts with the container’s true application panel. Avoid measuring across beads, fillets, or shoulders. Find the straight cylindrical zone, then size width and height to that area.
- Width: circumference minus a small gap for wrap tolerance. Use width ≈ π × diameter − 1.5–2.0 mm (1/16–3/32 in) for rigid bottles and jars; 3–4 mm (1/8–5/32 in) for flexible tubes.
- Height: keep clear of curved transitions at top and bottom. Maintain at least 1.5–2.5 mm (1/16–3/32 in) clearance above and below the label’s printed edge to avoid bridging radii.
- Corner radius: round corners reduce edge stress. Start at 2–3 mm (5/64–1/8 in) for rigid bottles/jars; 4–6 mm (5/32–1/4 in) on flexible tubes.
Measure with a soft tape or string for circumference, or calipers for diameter. When you’re choosing materials or testing fit across a line of skincare labels, lock the dieline first, then validate adhesives and finishes. Prototype with pre-cut sheet options so your skincare labels sit cleanly on dropper bottles, jars, and tubes without edge lift.
Serum Droppers (15–60 ml)
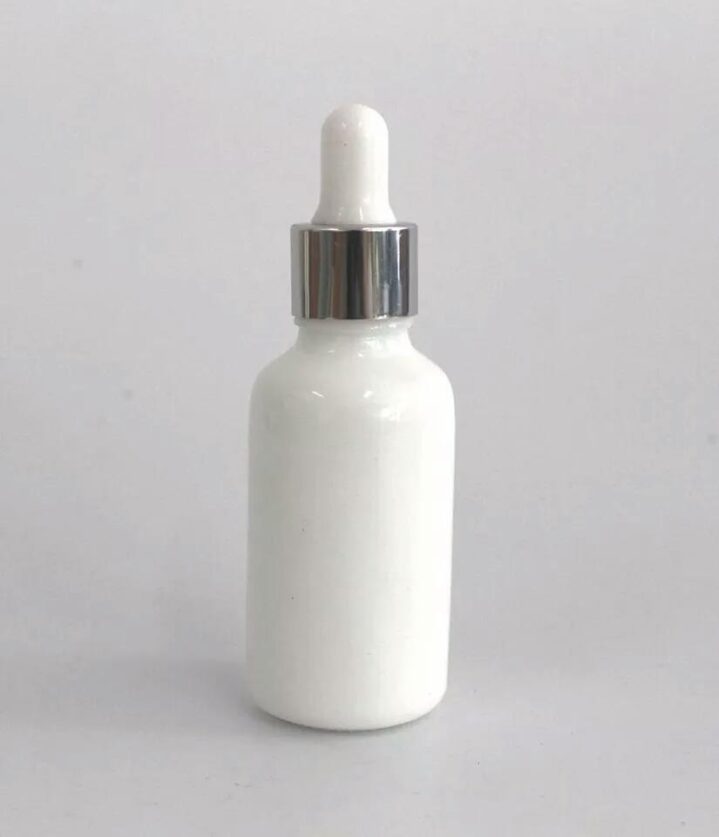
Serum droppers are usually cylindrical but offer limited vertical real estate between the shoulder and base radius. The wall is rigid, so small gaps and tighter corner radii are acceptable.
Typical diameters and label widths
- 15 ml bottles: 22–24 mm diameter. Circumference ≈ 69–75 mm; target label width 67–73 mm (2.64–2.87 in).
- 30 ml bottles: 28–30 mm diameter. Circumference ≈ 88–94 mm; target label width 86–92 mm (3.39–3.62 in).
- 60 ml bottles: 35–38 mm diameter. Circumference ≈ 110–119 mm; target label width 108–117 mm (4.25–4.61 in).
Use a 1.5–2.0 mm (≈1/16 in) gap for a clean butt wrap without risk of overlap.
Height and shoulder clearance
Plan for 25–38 mm (1.0–1.5 in) tall labels on 30 ml bottles. Taller is possible, but only if your straight-wall segment supports it. Keep 2 mm (≈3/32 in) vertical clearance from any shoulder bevels, glass/HDPE fillets, or base radii to avoid micro-wrinkles.
Corner radius and seam placement
A 2.5–3 mm corner radius reduces edge lift at the seam. Place the seam behind the bottle opposite the primary read. If your design uses borders or frames, keep them at least 2 mm inside the die edge to mask minor print/apply drift.
Dieline tips
- Bleed: 2–3 mm (3/32–1/8 in) beyond cut.
- Safe zone: 1.5–2 mm (1/16–3/32 in) inside cut; 2.5–3 mm around the seam.
- If you print dark inks across the seam, consider a pattern break or micro-gap for cleaner optics.
Airless Pumps (30–100 ml)
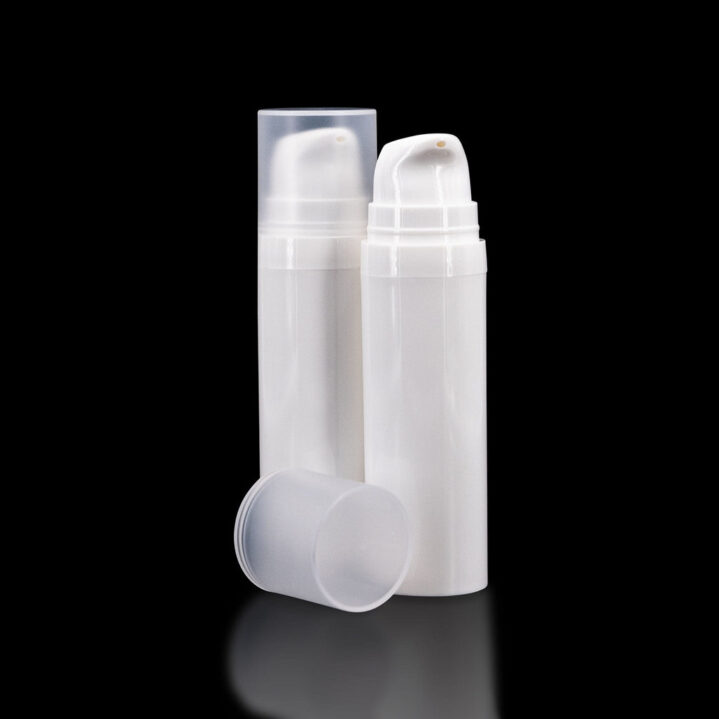
Airless pumps are often nearly cylindrical but may have slight taper. The pump shroud and base caps also steal vertical space, so index height conservatively.
Managing taper and wrinkles
If taper is ≤0.5° across the label height, a standard rectangle can work. If you see more than ~1 mm change in diameter across 40–50 mm of height, either:
- Reduce label height to the straightest central band, or
- Use a tapered dieline (an ever-so-slight top-to-bottom width delta) to match circumference change.
Example: If the diameter drops 1.5 mm from bottom to top across a 45 mm label height, the circumference changes by ~π × 1.5 ≈ 4.7 mm. A tapered dieline with a 2.3–2.5 mm half-width correction on each side can relieve shear and prevent smiles/wrinkles.
Practical sizes
Common diameters are 30–36 mm. Expect circumference ≈ 94–113 mm. Target widths 92–111 mm (3.62–4.37 in) with a 1.5–2.0 mm gap. Label heights of 30–45 mm (1.2–1.8 in) usually clear shrouds and base fillets.
Corner radius and materials
Use 3–4 mm radius to reduce catch points. Select film facestocks (PP, PET) with high initial tack for low-surface-energy plastics, especially if the bottle is PP or HDPE.
Straight-Sided Jars (1–8 oz)
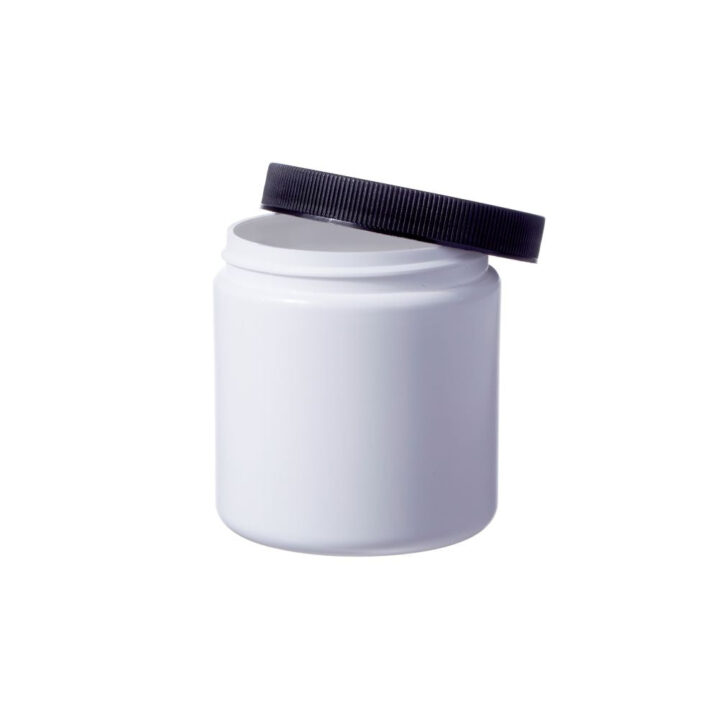
Common diameters and wrap targets
- 1 oz: 48–51 mm diameter → width ≈ 150–157 mm (5.9–6.2 in)
- 2 oz: 58–61 mm diameter → width ≈ 181–191 mm (7.1–7.5 in)
- 4 oz: 70–75 mm diameter → width ≈ 220–236 mm (8.7–9.3 in)
- 8 oz: 85–90 mm diameter → width ≈ 267–283 mm (10.5–11.1 in)
Each width assumes a 1.5–2.0 mm gap for a butt wrap. If you prefer an overlap seam (useful for high-humidity bathrooms), add 2–3 mm to the width and plan your seam color break.
Height and label architecture
Plan 25–50 mm (1.0–2.0 in) heights for 1–4 oz jars and up to 60 mm (2.4 in) for 8 oz, as long as you maintain 2–3 mm clearance from beads and radii. For premium looks, many teams split copy into a primary front panel and a back panel within one continuous wrap; keep barcodes away from compound curves.
Corner radius and seam control
A 2–3 mm radius is usually sufficient; larger radii (3–4 mm) can give a softer look and resist edge bumps in fulfillment.
Squeeze Tubes (20–200 ml)
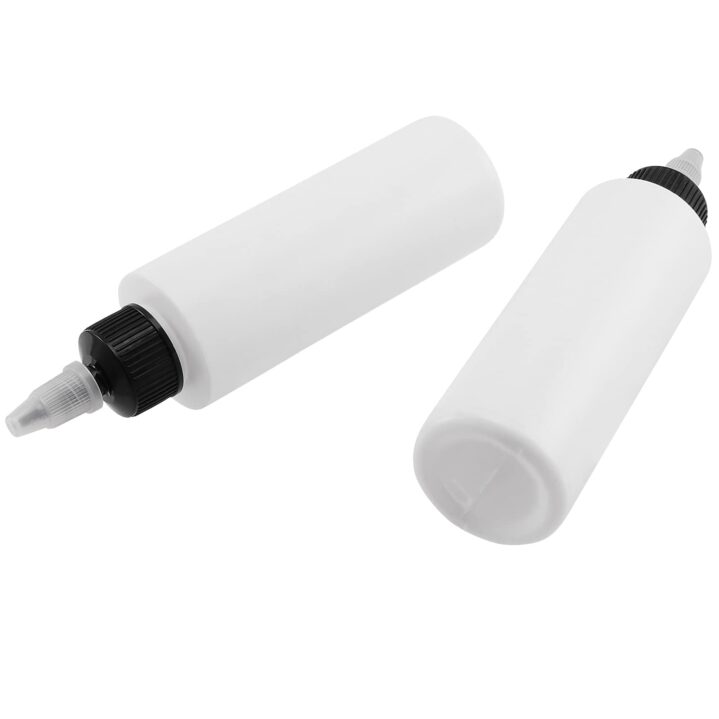
Height and taper strategy
The safest approach is a shorter vertical label centered on the straightest band. If you attempt a full- or near-wrap on a tapered tube, use a tapered dieline or a slight top/bottom arc. Quantify taper: measure diameter at top and bottom of the intended label height. If ΔD is 4 mm across 60 mm height, circumference delta is ~12.6 mm—far too much for a rectangular wrap. Either reduce height or build the correction into the die.
Wrap tolerance, corner radii, and materials
Allow 3–4 mm (1/8–5/32 in) gap to relieve flex stress. Use a 4–6 mm corner radius. Choose conformable film (soft PP, PE) with an adhesive formulated for polyolefins. Paper is prone to scuffing and edge wear on tubes.
Layout and seam placement
Avoid the crimp and living seam zones. Place your label seam 10–20° away from the tube’s factory seam to balance stiffness. Keep small type and barcodes on the flattest area; tubes can introduce scan-angle issues if the code straddles curvature.
Dieline Fundamentals That Prevent Rework
- Bleed 2–3 mm past the cut line; increase to 3–4 mm for tubes.
- Keep a 1.5–2 mm safe zone inside the cut, and at least 2.5–3 mm on or near the seam edge.
- Barcodes need quiet zones; reserve at least 2.5 mm on all sides and target ≥80% magnification for small formats.
- For tapered parts, document top and bottom widths on the dieline and annotate direction of feed to avoid flipped application.
Prototyping With Pre‑Cut Sheets
Speed matters when converting measurements into a confident go/no‑go. Use common pre‑cut rectangle sizes that bracket your target width and height, then test on real filled samples.
Letter and A4 sheets with sizes like 2 × 3 in (51 × 76 mm), 2 × 4 in (51 × 102 mm), 2.5 × 4 in (64 × 102 mm), and 3 × 4 in (76 × 102 mm) cover many skincare panels. Apply a midline registration mark on the liner to align to seams or embossing. Check for:
- Edge lift at corners and seam
- Smile or frown lines indicating taper misfit
- Copy slope versus shelf orientation
- Barcode scan reliability at multiple angles
Run a 24–72 hour dwell in a humid environment, then recheck corners and seams. If you see micro-lift only at corners, increase corner radius before changing adhesives.
Material, Adhesive, and Finish Notes
Film facestocks (PP, PE, PET) outperform paper on moisture resistance and edge durability. For PP/PE/HDPE containers, choose an adhesive with strong initial tack on low-surface-energy plastics.
If your product contains oils or silicones, test with intentional fingertip transfer on the application area before apply. For dark bottles and translucent labels, confirm opacity of whites and key neutrals across the seam to avoid show-through.
From Prototype to Production
Once you’ve locked the dieline, finalize the wrap gap, corner radius, and seam plan before artwork expansion across SKUs. Standardize a single seam location per family for faster application setup.
For brands mixing bottle and tube formats in the same line, maintain consistent front-panel proportions and type scales while tailoring width/height per container. That keeps shelf impact aligned while preserving technical fit.
Why Sizing and Shape Decisions Matter
Right-sized labels print predictably, apply quickly on the line, and stay put in use. Under- or overestimating even a millimeter or two pushes teams into ad‑hoc fixes: migrating copy, shrinking text, switching materials late, or accepting edge lift that customers will notice.
Also read: Latest Advances In Skin Care Technology
Align geometry, dieline, and material early, and the rest of the program tends to follow with fewer surprises.