
If you’re a tech enthusiast or professional, you probably know the power of VMware Workstation for creating virtual machines. However, there might come a time when you need to uninstall it, whether it’s for troubleshooting, upgrading, or simply freeing up space.
That’s why I’ll walk you through the detailed process of uninstalling the Workstation from both Windows and Linux systems, ensuring you don’t lose your valuable data in the process.
Preparations Before Uninstalling
Before starting the uninstallation process, it’s essential to make some preparations to safeguard your data and settings.
Back up your virtual machines
Virtual machines (VMs) are critical, and losing them can be a major setback. To avoid this, back up your VMs. You can save them directly from the Workstation Pro or simply copy the VM folder to another disk.
Export custom network configurations
If you’ve set up custom network configurations, save these settings, including adapters, IP addresses, and virtual cards. This will save you time if you reinstall VMware Workstation in the future.
Save license keys
Store your license keys safely. You’ll need them if you decide to reinstall the Workstation later.
How to Remove VMware Workstation from Linux Systems
This includes both Debian-based and Red Hat-based distributions.
Debian-Based Systems (Ubuntu, Linux Mint, Kali Linux, Elementary OS)
Uninstalling the Workstation with Script Using GUI
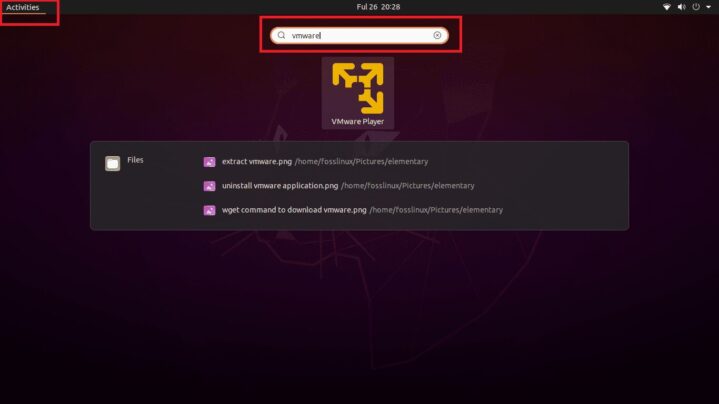
- Check for VMware: Use the vmware-installer –list-products command in the terminal to see if VMware Workstation is installed.
- Open Terminal: Press CTRL + T to open the terminal.
- Uninstall Command: Enter sudo vmware-installer -u vmware-workstation.
- Follow the Wizard: A wizard will guide you through the uninstallation.
- Wait for Completion: The uninstallation process will take a few minutes.
- Confirm Uninstallation: Check the start menu to verify that VMware has been removed.
Uninstalling the Workstation Using Terminal Only
- Open Terminal: Press Ctrl+T or Ctrl+Alt+T.
- Check Installation:
- Debian/Ubuntu/Mint/Kali: dpkg -l | grep vmware
- Red Hat/CentOS/openSUSE: rpm -qa | grep vmware
- Additional checks: ls /usr/bin | grep vmware, ls /usr/sbin | grep vmware, vmware –version
- Stop VMware Services:
- sudo /etc/init.d/vmware stop
- sudo service vmware-USBArbitrator stop
- Verify: sudo systemctl status vmware
- Uninstall VMware:
- List products: vmware-installer –list-products
- Uninstall Workstation: sudo vmware-installer -u vmware-workstation
- Uninstall Player: sudo vmware-installer -u vmware-player
- Extended command: sudo /usr/bin/vmware-installer –uninstall-product=vmware-workstation
- Delete Configuration Files:
- sudo rm -rf /etc/vmware*
- sudo rm -rf /usr/lib/vmware*
- sudo rm -rf /usr/share/doc/*vmware
- sudo rm -rf /usr/bin/vmware-usbarbitrator
- sudo rm -rf /usr/bin/vmnet*
- sudo rm -rf /usr/bin/vmware*
- sudo rm -rf /usr/share/applications/vmware*
- Clean Up Leftover Packages:
- sudo apt-get autoremove
How to Remove It from Windows 10
Uninstalling VMware Workstation on Windows is straightforward. You can choose between using the Settings app or the Control Panel.
Method 1: Through Apps & Features
- Open Settings: Press Windows Key + I.
- Select Apps.
- Locate the Workstation: Find it under Apps & Features.
- Modify: Right-click on VMware Workstation and select Modify.
- Remove: In the new wizard, select Remove.
- Uncheck Configuration Files: Make sure to uncheck the boxes to remove configuration files.
- Finish: Click Remove, then Finish.
Additional Method: Through Control Panel
- Open Control Panel.
- Navigate to Programs: Right-click the Workstation and select Changes.
- Follow Prompts: Complete the uninstallation process.
Does It Remove All My VMs When Uninstalling the Workstation?
Typically, VMs remain on your system after uninstalling the Workstation. However, it’s recommended to back up your VMs before uninstalling to prevent any potential data loss.
Regular Backups
Regularly back up both your virtual machines and physical computers to safeguard your data. Tools like AOMEI Centralized Backupper provide comprehensive data protection.
- Download and Install: AOMEI Centralized Backupper.
- Install the Agent: Setup on client computers.
- Create Backup Tasks:
- Launch the software.
- Switch to the Tasks tab and choose New Task.
- Add Computers by selecting the IPs of machines to back up.
- Select a destination path for backups.
- Set up backup settings, schedule, and retention policy.
- Click Start Backup to initiate the process.
In Summary
Whether you’re using Windows or Linux, these tips will help you get rid of VMware Workstation smoothly. Follow these steps to stay on the safe side and keep your data secure.